If you have just purchased Ferplast’s Atlas Bike Rapid dog carrier for bicycles, you will now need a manual with clear and user-friendly instructions on how to assemble it. Here is how to mount the dog carrier correctly in just a few minutes. Don’t worry, it’s easier than you might expect and, if you want to take even less time, ask a friend to give you a hand!
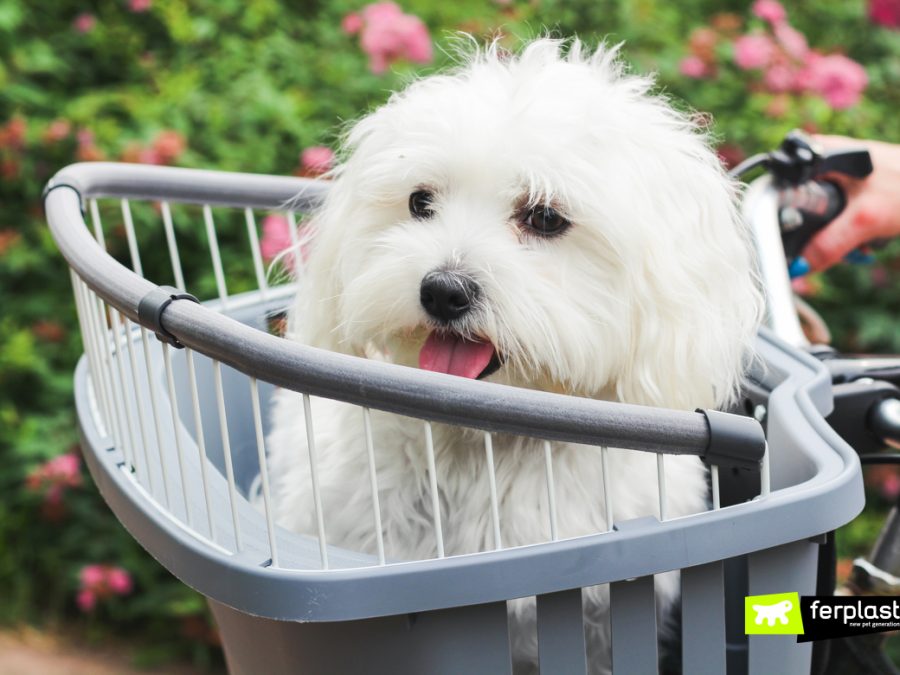
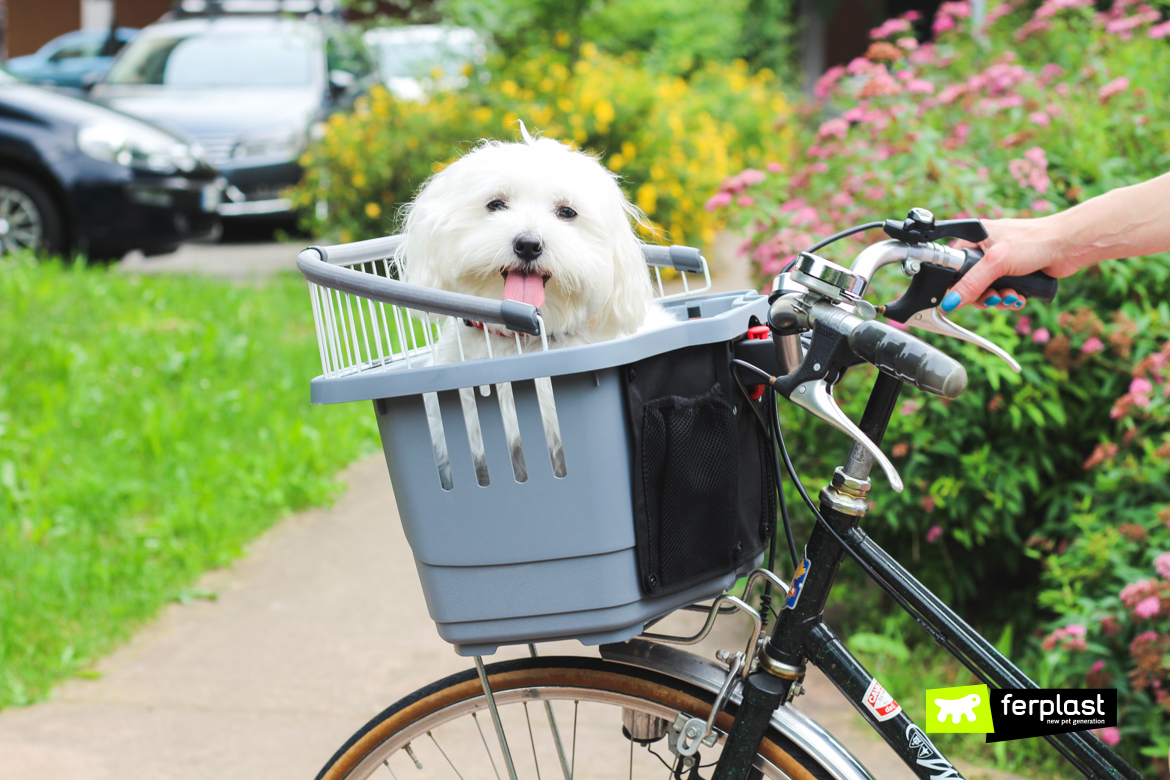
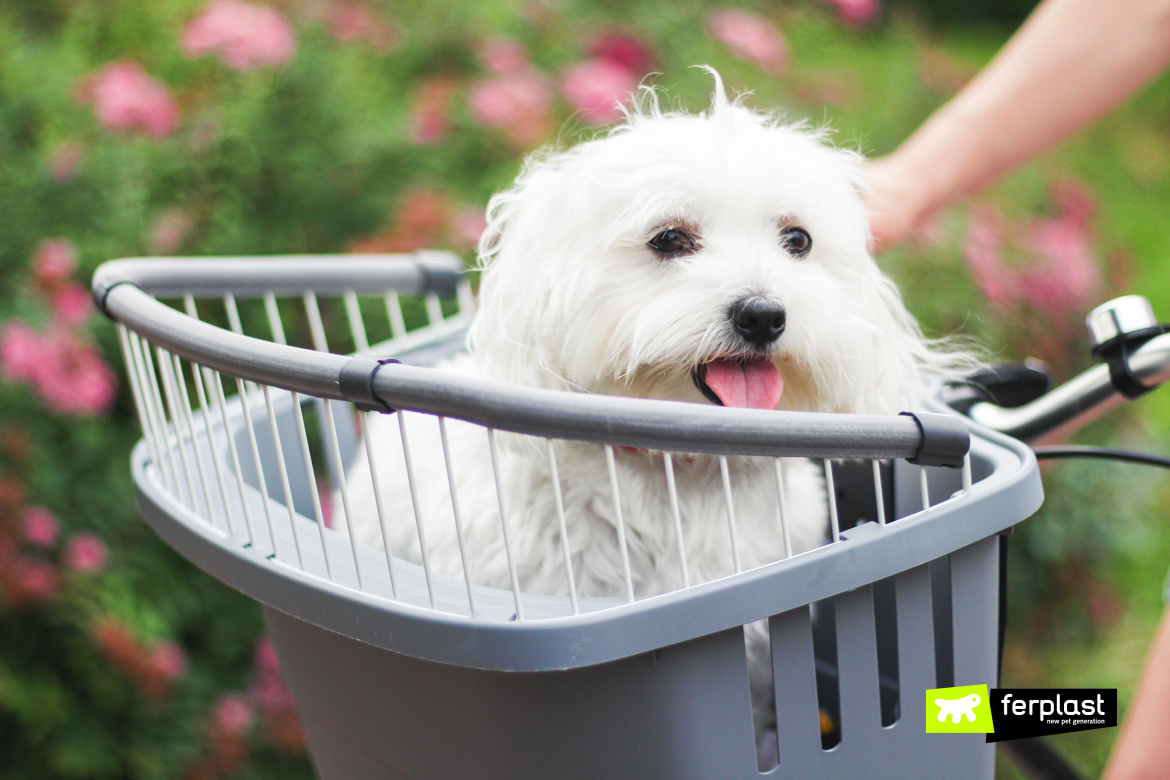
Atlas Bike Rapid is a bike pet carrier for small dogs (it can carry dogs weighing up to a maximum of 7 kg) and is made of light and super-tough plastic. The basket is designed to be attached to the handlebars quickly and easily: when needed, you can remove it from the handlebars and leave the fasteners attached and ready for your next outing.
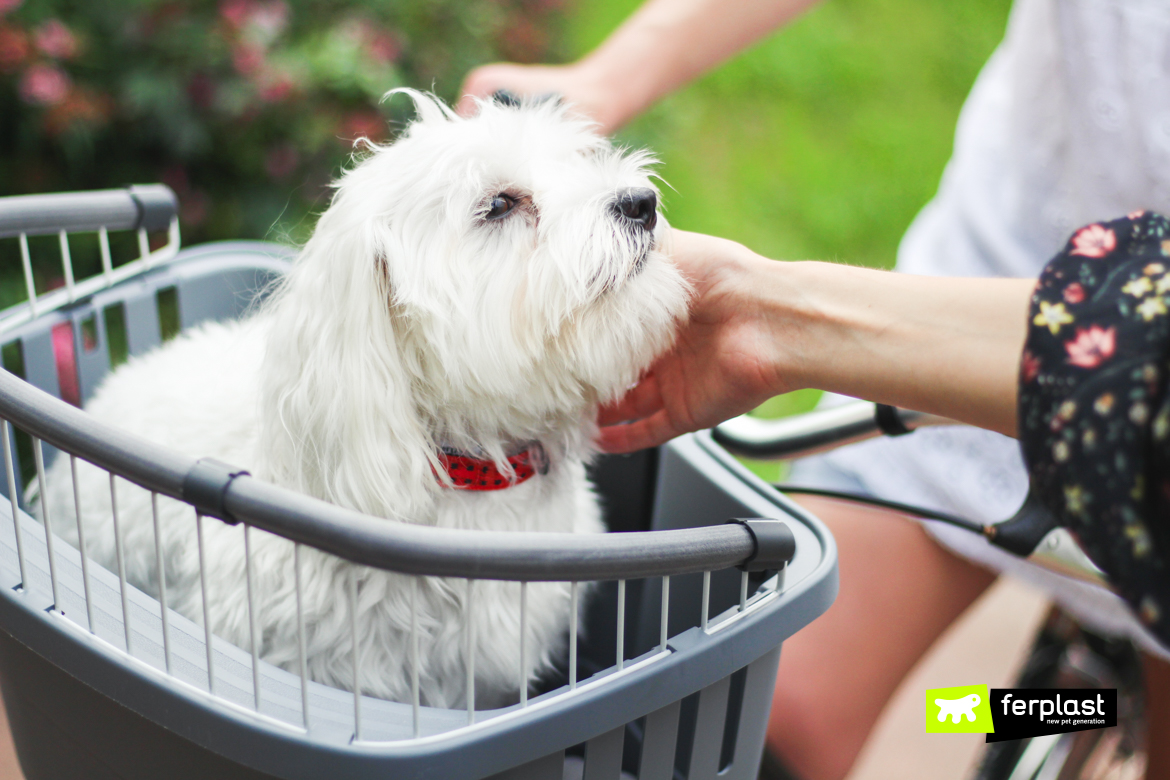
Atlas Bike is equipped with all the comfort and safety devices your furry friend needs: protective netting with a soft rubber edge, a front support on which your pet can rest his paws, a safety strap to attach to your dog’s harness or collar, to prevent loss of balance during your ride, and also a comfy cotton cushion.
Instructions
1st PHASE
Attach the Rapid Bike Adapter to the handlebars to create a support on which you can attach your furry friend’s carrier. You will need a ph2 Phillips screwdriver and an Allen key. First of all, screw in the 4 silver steel screws and then the 2 black ones, but only half way. Caution! The two black screws should first be inserted into the appropriate holes, after which the steel cable provided needs to be passed through, before tightening them with the special Allen key.
2nd PHASE
Assembling the basket. Take the basket, the object-carrier netting, the two Rapid Bike Adapter plates and the black rivets. Leaning on a flat surface, first of all take the object-carrier netting. Then, with the aid of the Phillips screwdriver, attach the two plates, placing one on the inside and one on the outside of the basket, and tighten the two screws well. Now carry on, by fastening the netting with the help of the black rivets. We’re nearly there!
3rd PHASE
It’s now time to attach the protective netting to the upper perimeter of the basket. Here, once again, it would be a good idea to have someone help you. That way you will save time. Insert the safety strap for Fido into the base and remember to adjust it properly in order to avoid any dangerous loss of balance and thus maintain stability while riding. You can now insert the cushion, so that your dog will be even more comfortable.
4th PHASE
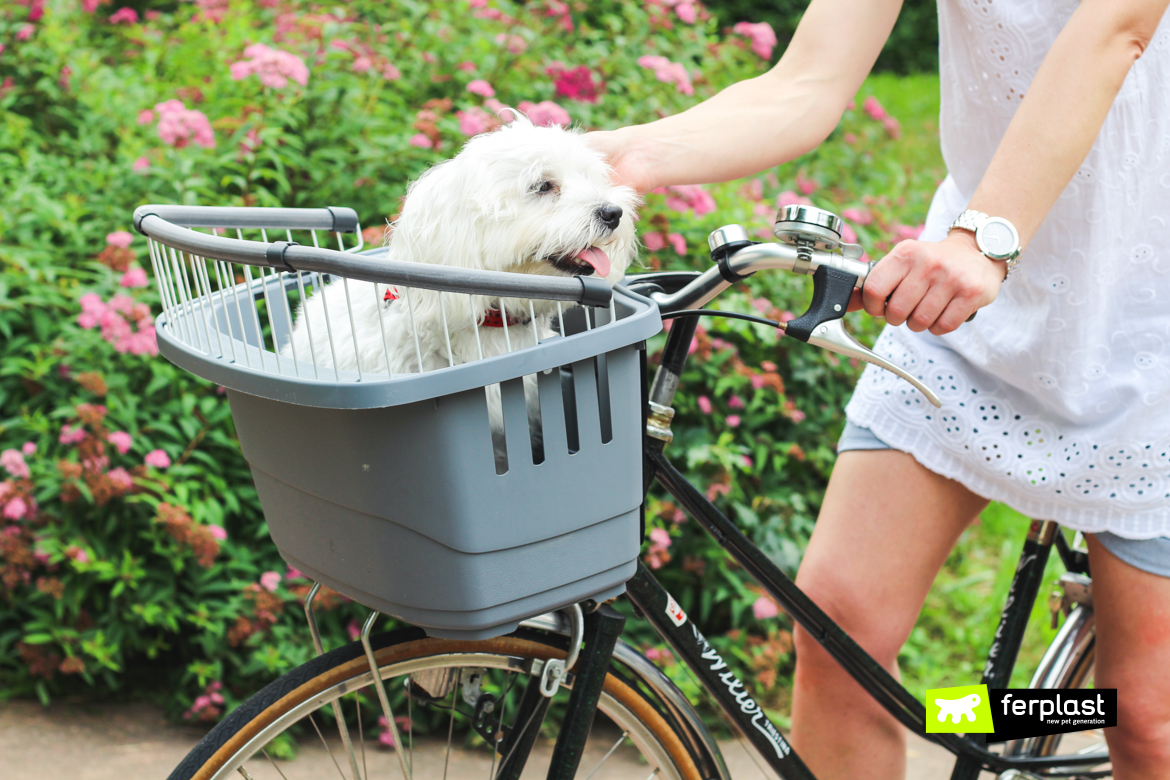
Attach the basket to the handlebars of your bicycle. Keeping the red adapter button pressed down, bend the basket slightly and thus attach it to the handlebars. To remove it, simply press the red button again and pull out the pet carrier.
Et voilà! Atlas Bike pet carrier is now assembled and you can set off on a new adventure!
