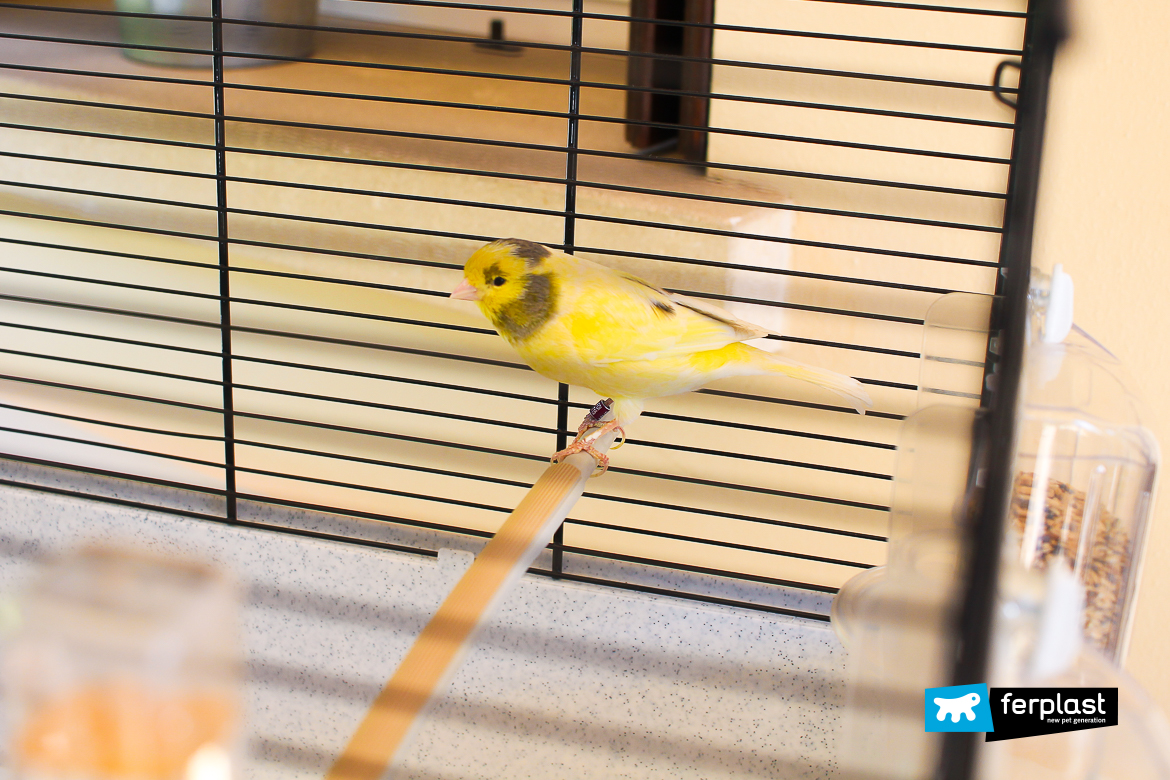
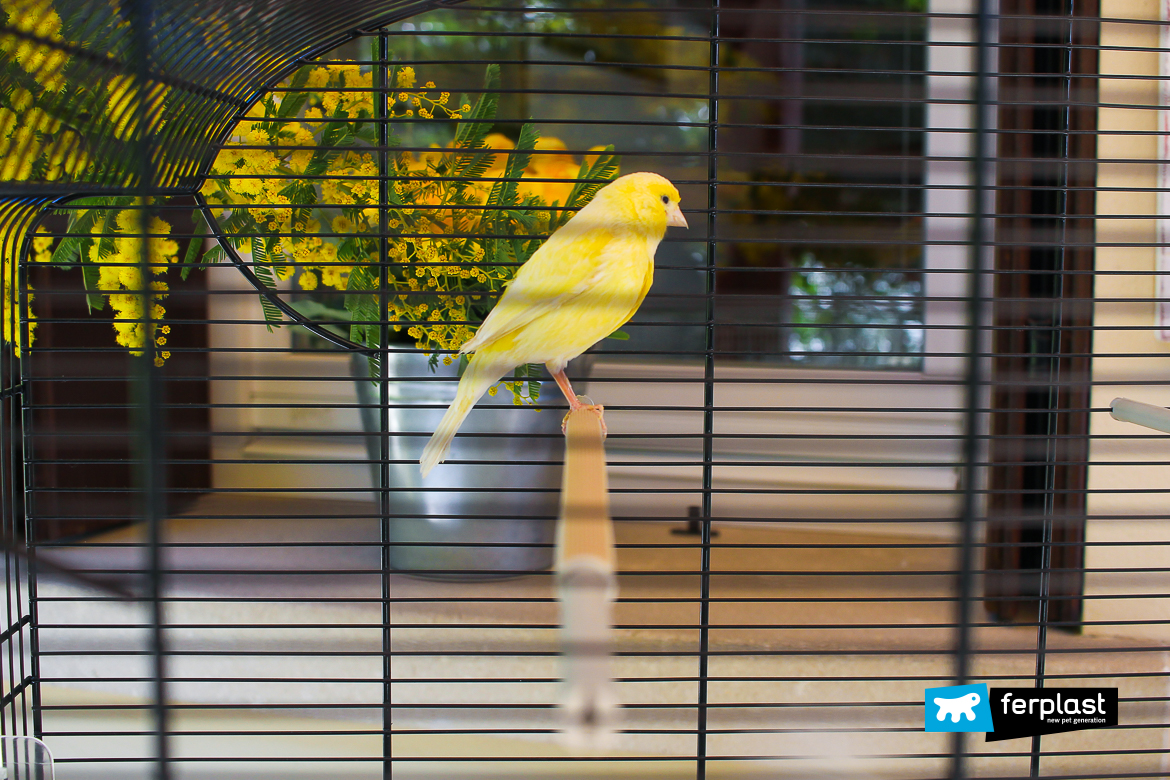
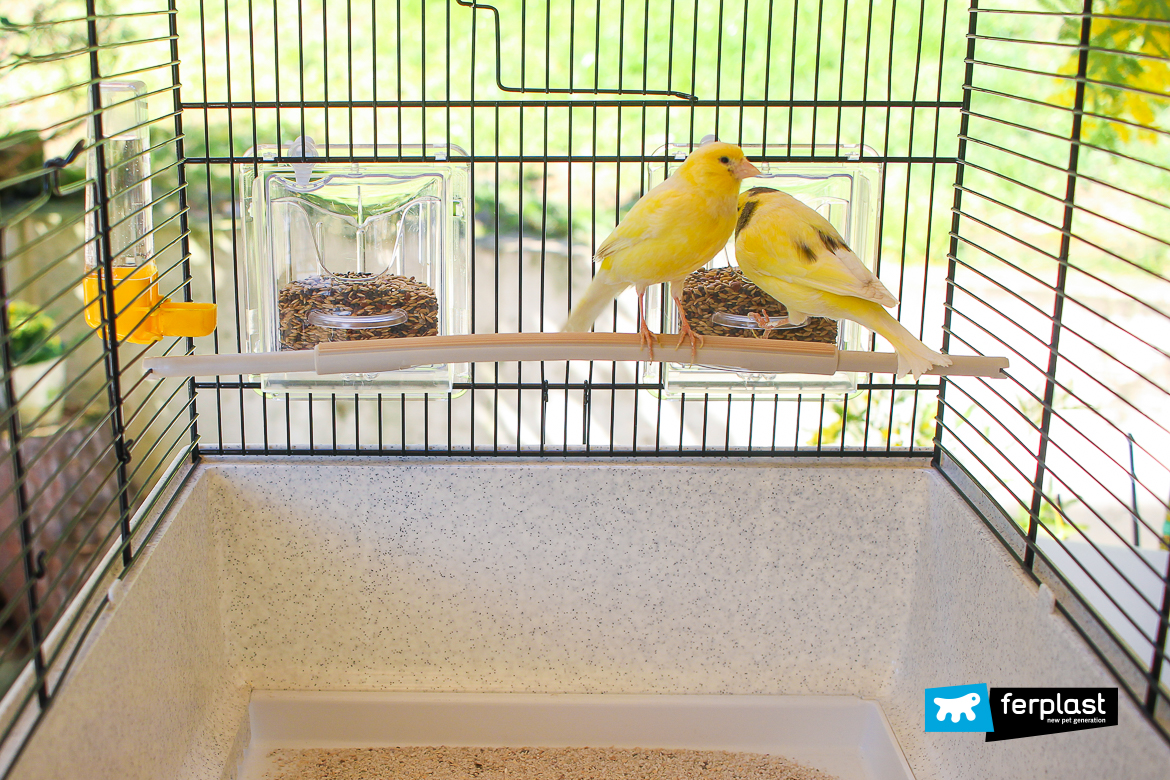
Spring is upon us, marking the beginning of birds’ mating season. Let’s find out how to help our flying friends, and canaries in particular, during the delicate phase of egg brooding, and how to prepare their cage in a proper manner.
The first thing you should keep in mind is that canaries need plenty of light: this allows their bodies to develop the hormones they need to reproduce, and it’s also an essential element to make sure everything happens the way it should. They should be exposed to sunlight for at least 13 hours every day.
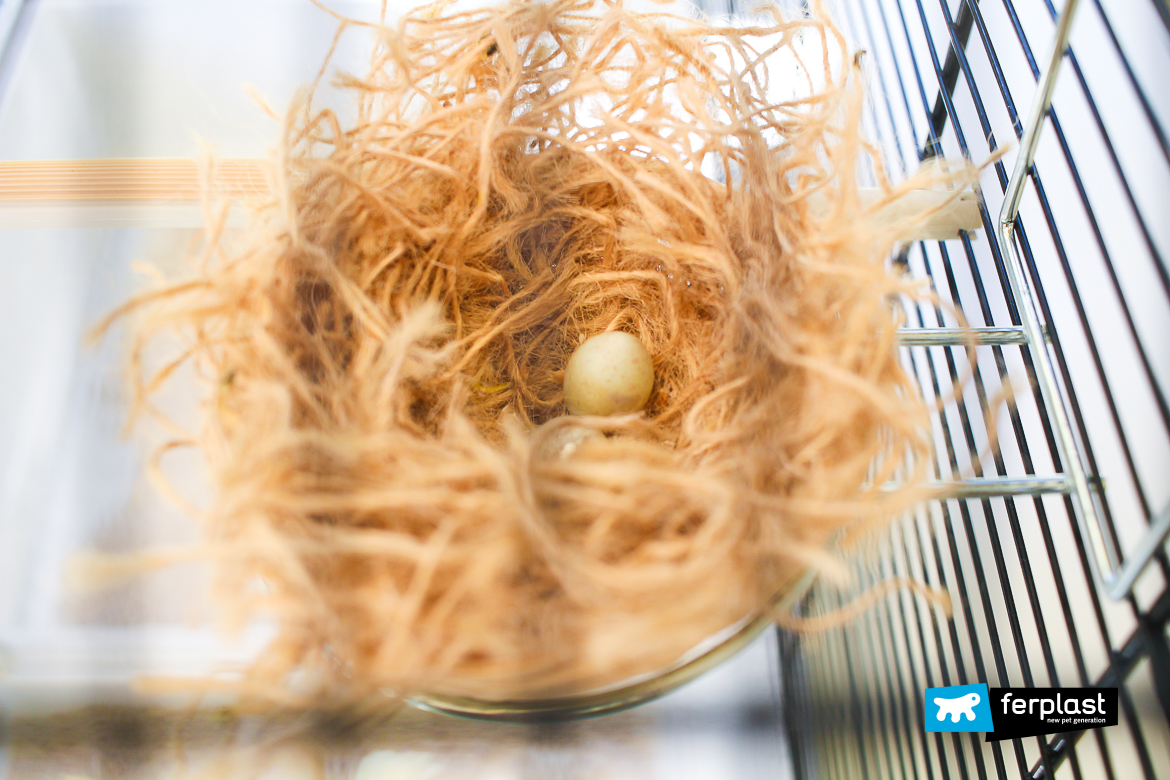
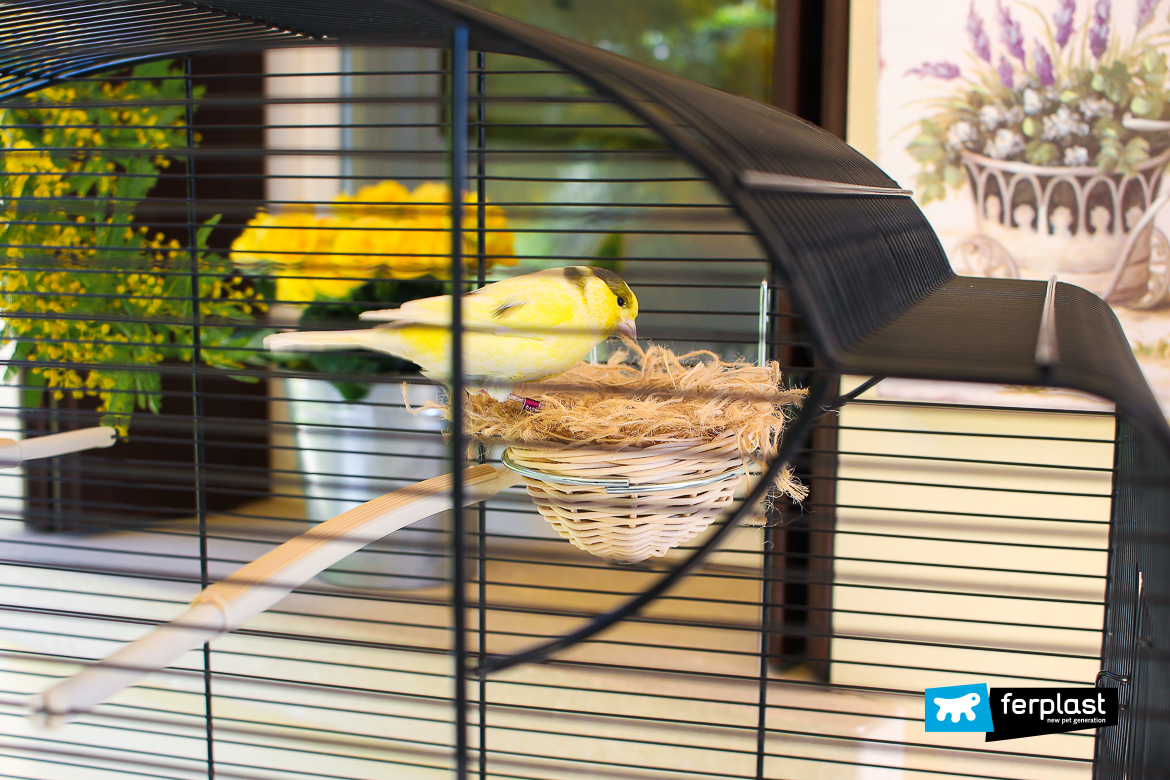
It’s usually the female that prepares the nest: she makes it, tears it down and rebuilds it many times, and won’t stop working on it until the first egg has been laid. To make her job easier, you can get her an artificial wicker nest. Remember to put it in a sheltered place.
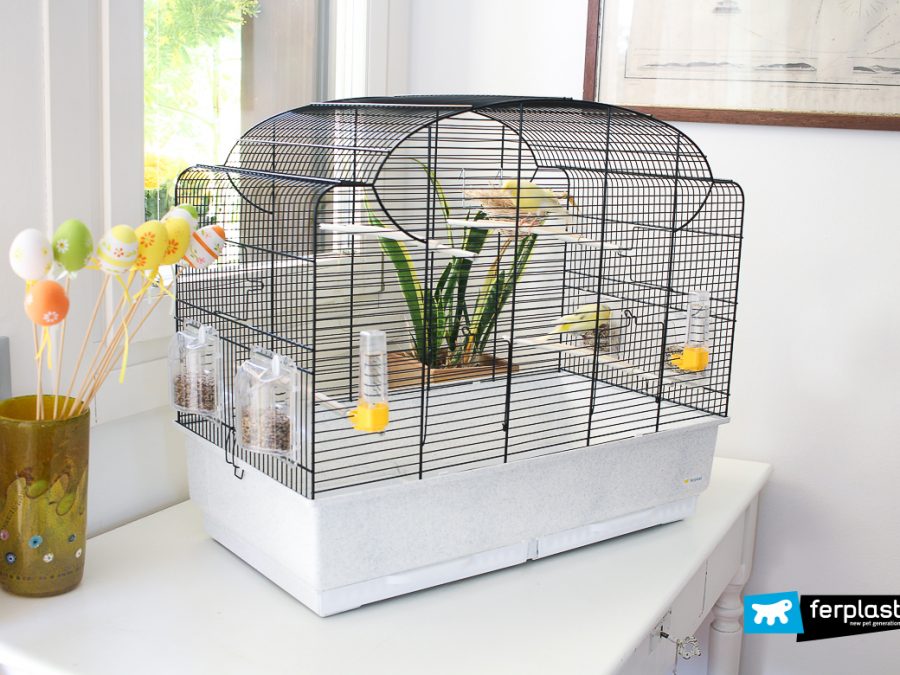
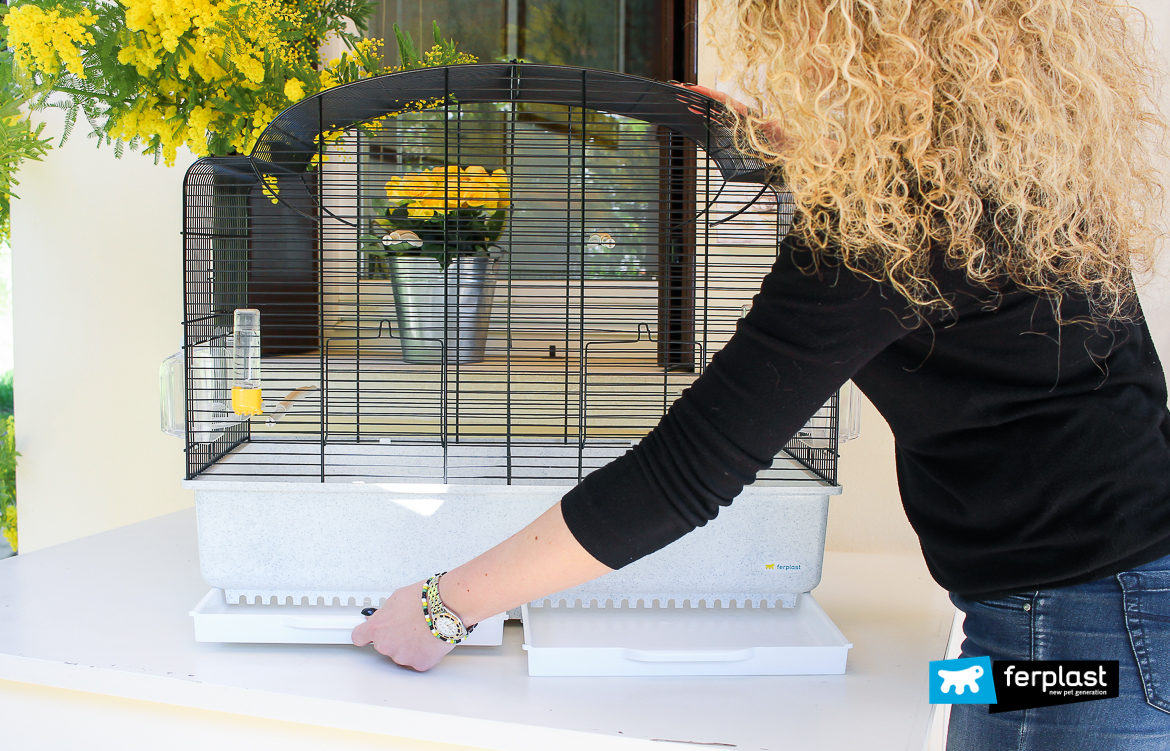
To prepare your canaries for mating, it’s very important to prepare the cage in the best possible way, which means making sure your friends have everything they need. First of all, they’ll need a spacious canary cage, either square or rectangular, so they can find a protected spot in a corner where they can find shelter.
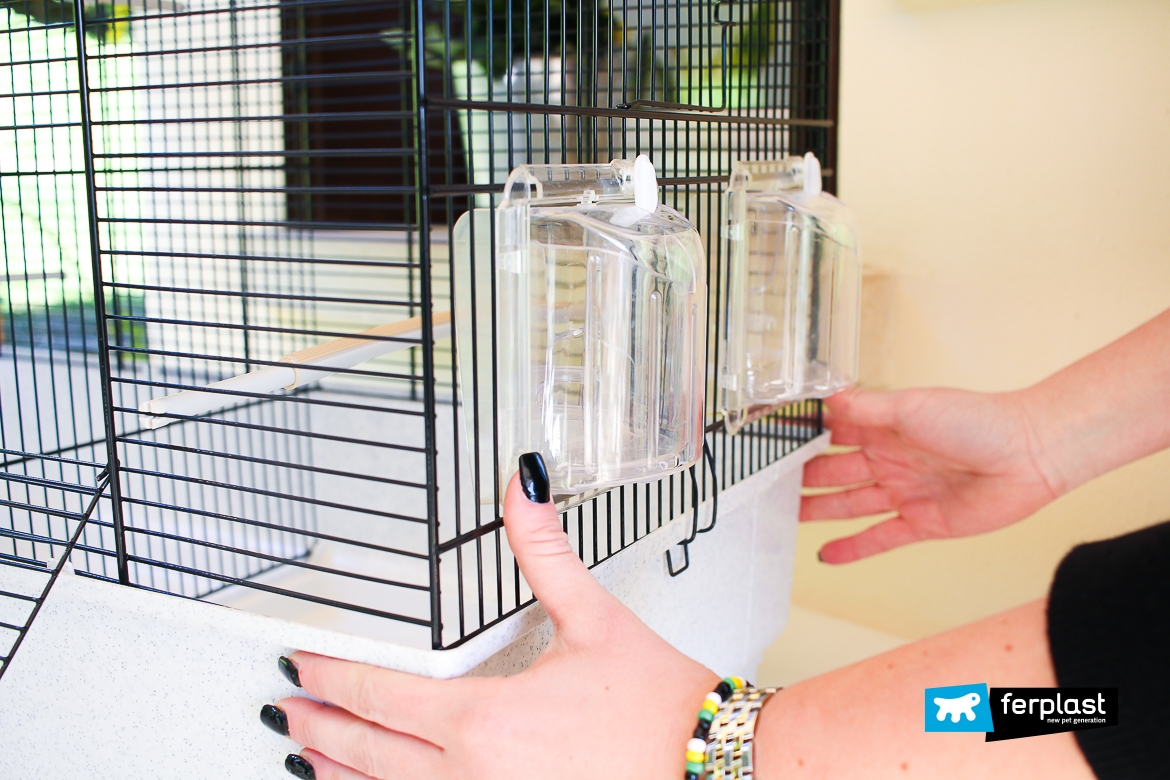
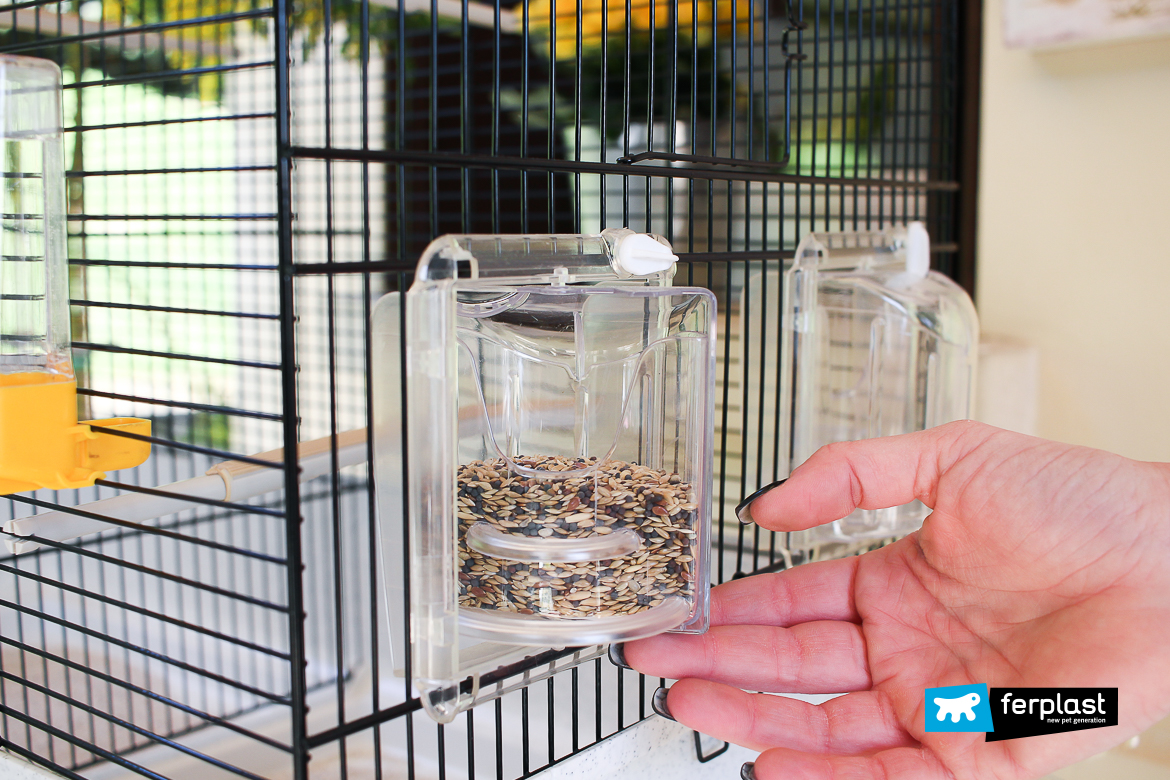
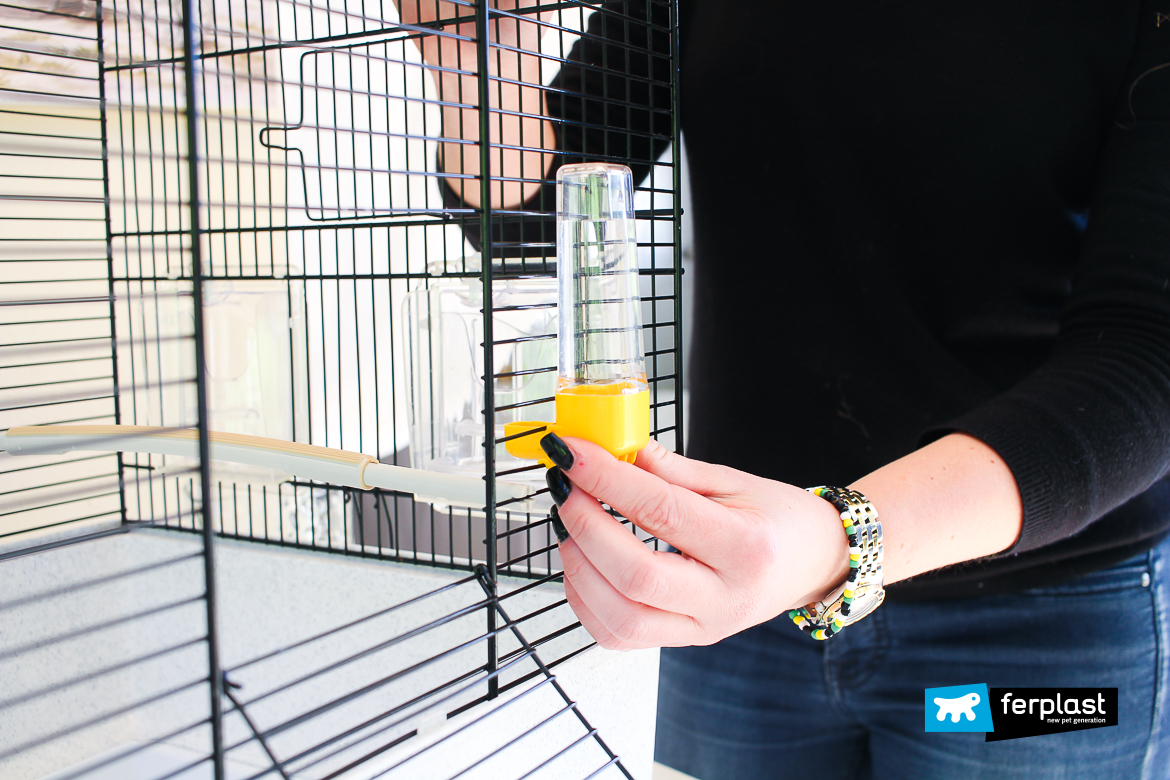
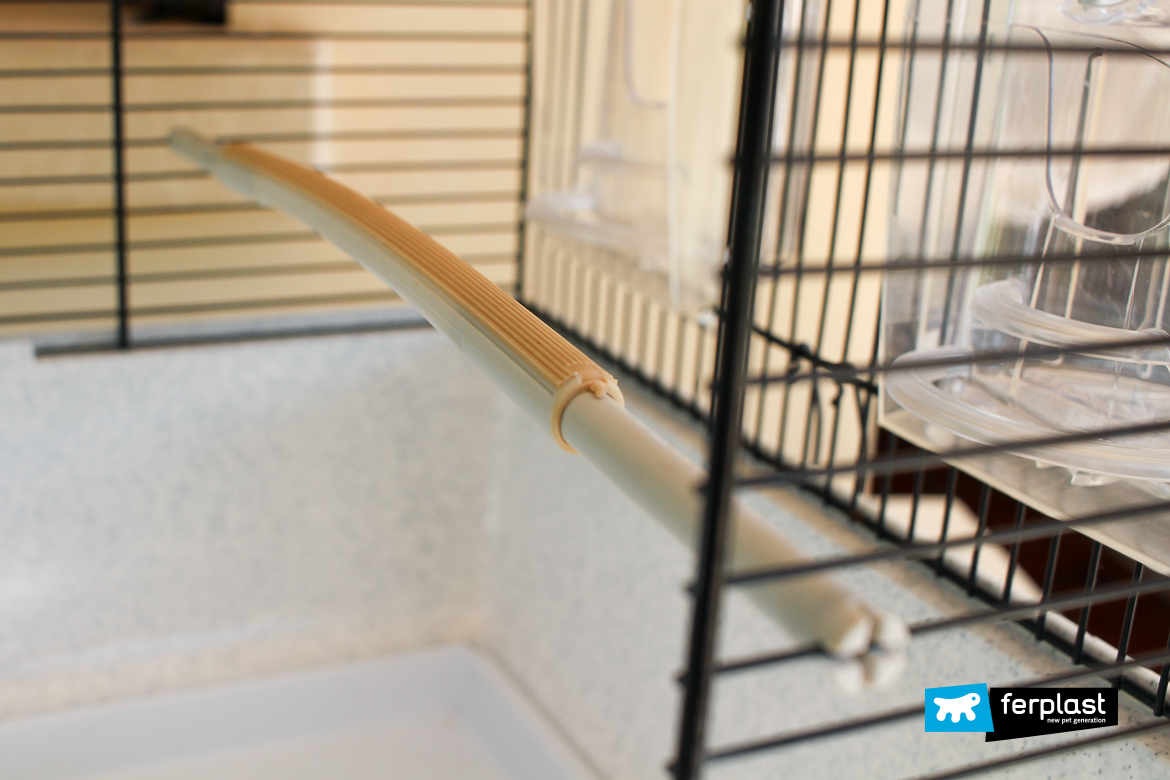
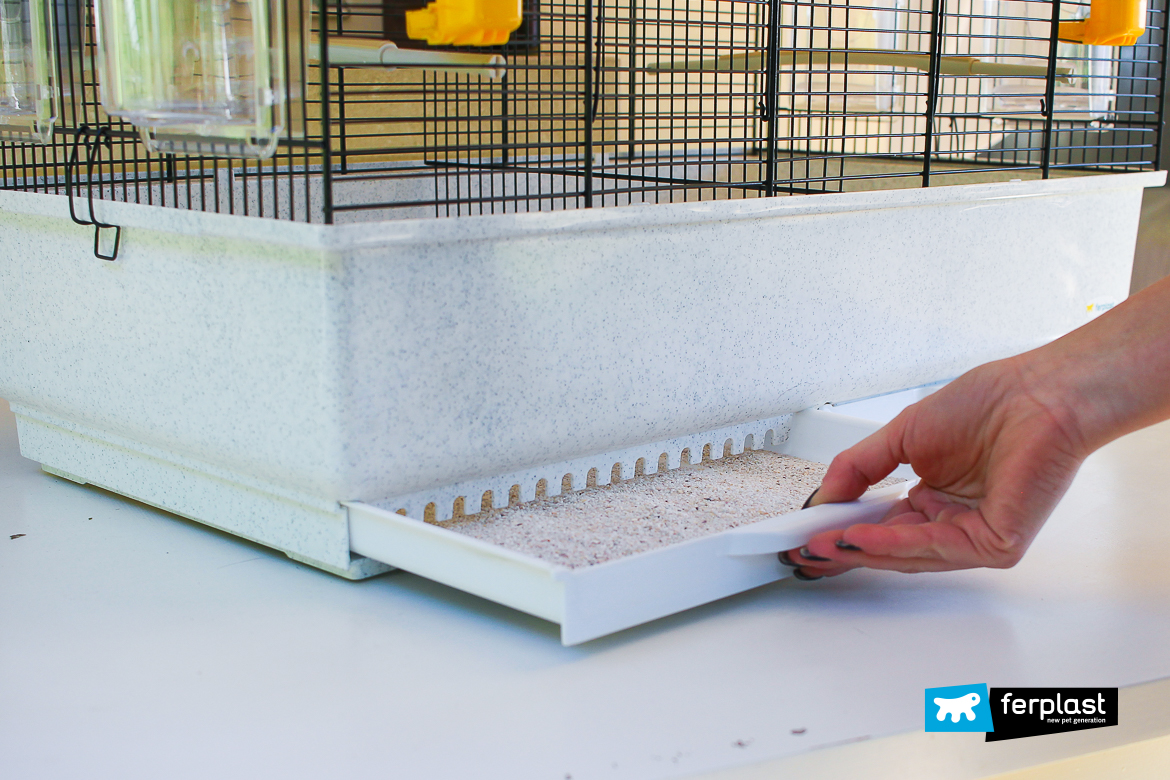
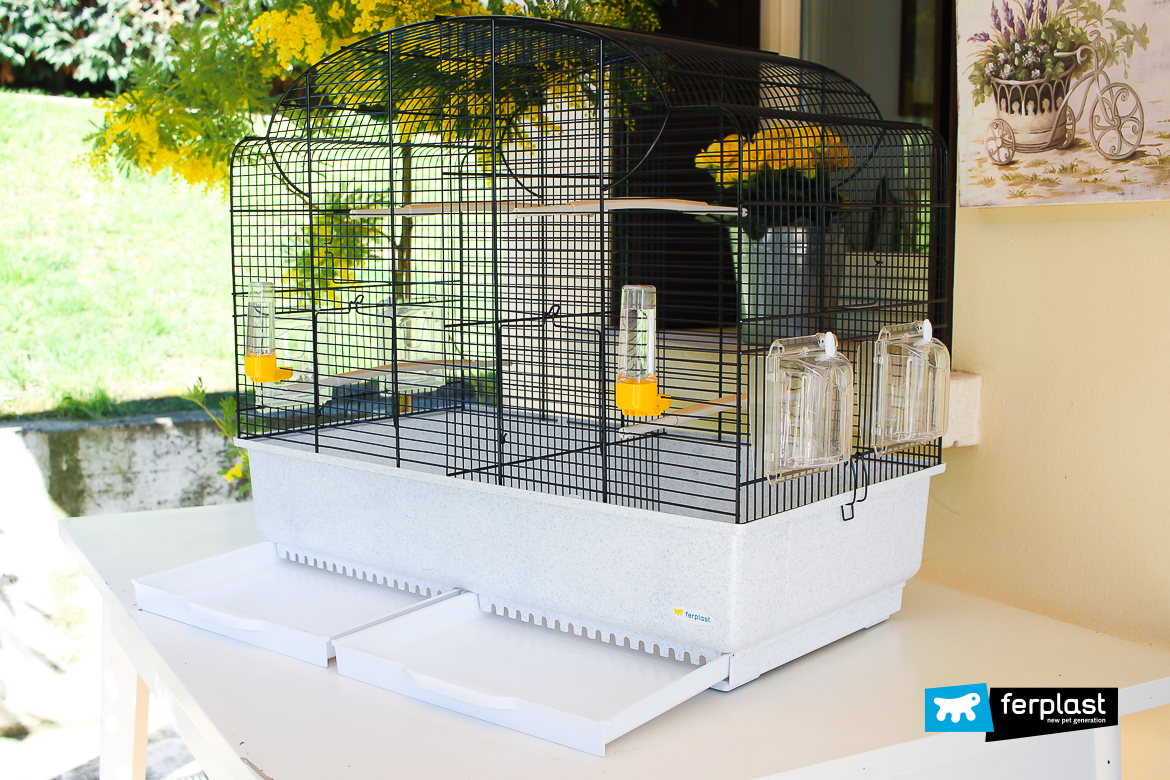 The next step is spreading sand on the bottom and preparing their new home with all necessary accessories: a double drinking spout, always filled with fresh water; eating troughs; perches; and, as mentioned above, a nest where the female can lay her eggs. Remember to provide her with materials she’ll use to pad it: jute, hamper and leftover bits of thread or fraying fabric will do just fine.
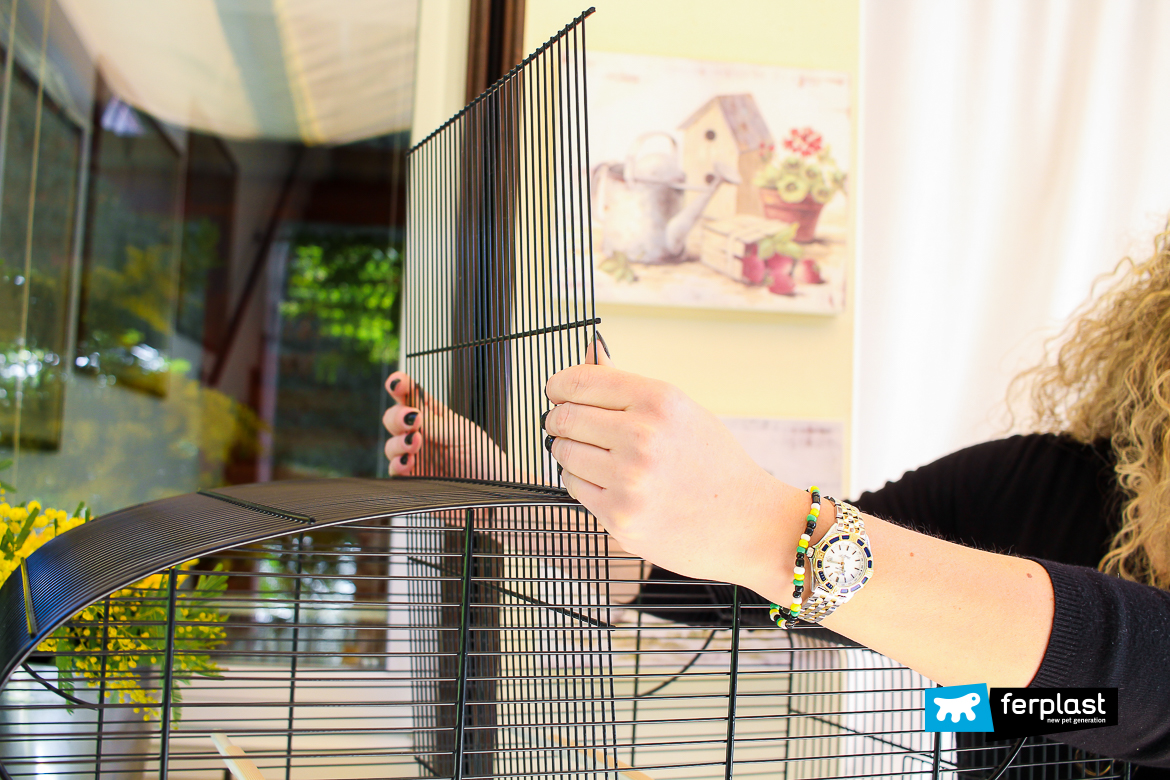
Ferplast’s Canto cage is particularly well-suited, as it comes with all these features. It’s very spacious and also allows for the placement of a dividing panel that will be very useful when the first eggs hatch and it’s necessary to separate the firstborns from the latecomers, but we’ll talk about this in a future occasion. Thanks to its practical trays, keeping the cage clean and well-ordered is much easier and quicker.
Now the cage is ready, the female canary can start laying her eggs: one every morning, for a total of no more than 6. During this phase, we must remember to replace the eggs she has laid with fake ones, to prevent the last chicks to come out of their eggs from being overpowered by their big brothers when parents start feeding them – this happens when the eggs hatch at different times. To make sure all eggs hatch at the same time, which means all chicks will grow in a similar way, you’ll have to replace the true eggs with fake ones (there must always be eggs in the nest; the female might abandon the nest if she finds it empty). The actual eggs must be kept in a little box lined with some soft material, in a room at 20° C. After 13-14 days of brooding, the eggs will hatch; in rare cases, this may take up to 15 days.
A few days after the beginning of the brooding phase, you can sort them by holding them gently and looking at them against the light. Dark eggs have been fertilised; if the yolk is big but sharply outlined and round, the egg is sterile. Make sure this inspection is done quickly, to keep the eggs from cooling down too much.
In the next article we’ll tackle the second phase, hatching and weaning!

